
Menu

Before delving into the process of restoring your sun-damaged car paint, it’s crucial to comprehend the implications of the sun’s impact on your vehicle’s exterior.
Many car owners underestimate the severity of sun damage and consequently overlook necessary preventative measures.

The radiant energy from the sun, particularly ultraviolet (UV) rays, gradually deteriorates the pigmentation in your car’s paint. This process leads to fading, making your vehicle appear older and less vibrant than it should.
Sun exposure is a known enemy of the clear coat – the protective layer on your car’s paint. Over time, UV rays can cause this layer to peel or crack, leaving your vehicle’s body vulnerable to further damage.
Peeling or cracking of the clear coat exposes the underlying metal body of your car, leading to a higher risk of rusting. Rust not only spoils the aesthetic appeal of your vehicle but also compromises its structural integrity.
Identifying sun damage is the first step towards restoring your vehicle’s aesthetics. Paying close attention to the following signs can help you act promptly.
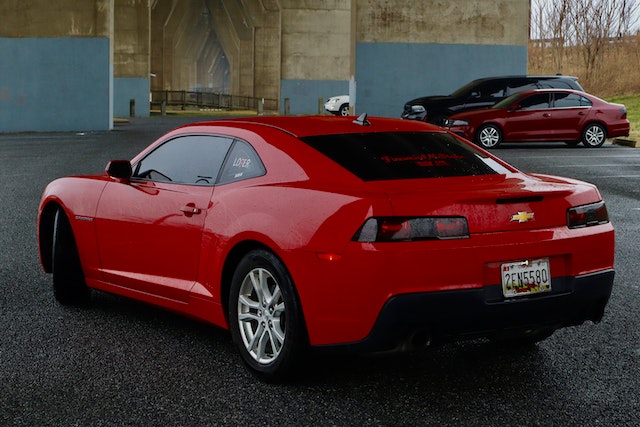
The most noticeable sign of sun damage is a dull, lackluster appearance. If your car’s color seems faded or less vibrant, it might be time to take corrective measures.
If you notice clear coat peeling, it’s a definite indication of sun damage. Visible cracks or flakes on your car’s surface signify clear coat failure and a need for repair.
Particular areas of your car may appear discolored due to uneven sun exposure. Pay attention to such spots as they need targeted treatment.
Signs of sun damage to look out for:
The process of repairing sun damage requires specific tools and materials. Gathering these beforehand can make the repair process smoother and more efficient.
Car wash soap, a sponge, and microfiber drying towels are necessary for preparing your car for the repair process.
You’ll need various grit sandpaper ranging from 600 to 2000, sanding blocks, and a sander for this procedure. These will help remove the damaged layers of paint and clear coat.
Primer, base coat, clear coat, and a spray gun are necessary to restore the color and protect your vehicle’s surface after sanding.
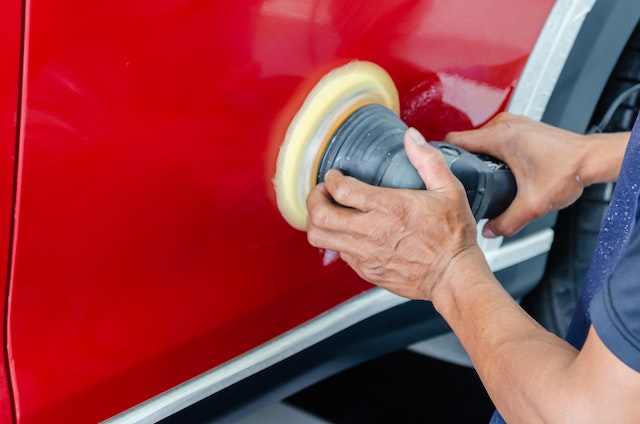
Finally, car polish and a polishing machine will be required to give your vehicle a glossy, smooth finish.
Essential materials for sun damage repair:
Now that you understand the impact of sun damage and have prepared the necessary materials, it’s time to walk you through the process of repairing your car’s sun-damaged paint.
The first step in any exterior car repair process is to thoroughly wash your vehicle. This will remove any dirt, dust, or contaminants that might interfere with the repair process. Dry your car thoroughly afterward to prevent water spots or rusting.
Sanding is a critical step in the repair process. Start with lower grit sandpaper, such as 600-grit, and gradually move to higher grits. This step will remove the damaged layers and prepare the surface for the new paint and clear coat.
Once the damaged area is sanded down and wiped clean, apply a primer. The primer provides a base for the paint to adhere to and enhances its longevity. Let the primer dry completely before moving on to the next step.
Now comes the most satisfying part – painting your car. Ensure you’ve matched the color perfectly before you start. Apply multiple thin layers of paint, allowing each to dry before applying the next.
The clear coat is a protective layer that shields your paint from external factors, including the sun. Like painting, apply the clear coat in multiple thin layers, allowing each layer to dry before applying the next.
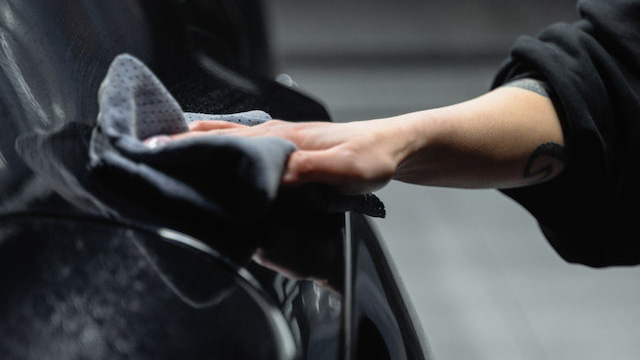
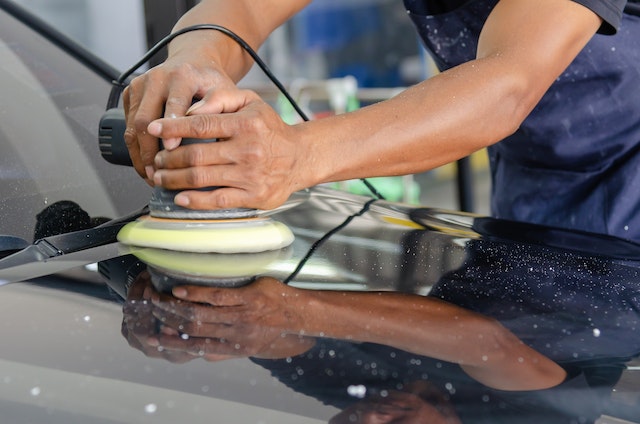
Once the clear coat is completely dry, it’s time to polish your car. Polishing will enhance the gloss and shine of your car, making it look brand new.
Steps for repairing sun-damaged car paint:
It’s natural to have apprehensions about tackling sun damage repair yourself. Let’s address some common concerns that car owners often face when deciding to embark on this DIY project.
One of the biggest challenges in repainting a car is matching the existing color. However, you can find the color code for your car in the owner’s manual or on a sticker located in various parts of your vehicle, such as the door jamb or under the hood.
Many people fear that DIY repair will not yield professional results. However, with the right materials, preparation, and patience, you can achieve a result that is just as good, if not better, than a professional job.
While it’s true that this process can be time-consuming, the satisfaction and cost savings can make it worthwhile. Plus, you can work at your own pace and schedule.
Prevention is always better than cure. Here are some strategies you can adopt to prevent or slow down future sun damage.
Applying wax to your car’s surface forms a protective layer against the sun’s harmful rays. This should be done at least twice a year for effective protection.
When possible, park your car in the shade. This simple action can significantly reduce the amount of direct sun exposure your car gets, thus minimizing potential damage.
A car cover is a worthy investment for those who park their cars outdoors. It protects your car from sun damage and other environmental factors.
Knowing the costs involved in repairing sun damaged car paint can prepare you for the financial aspects of this project. Costs can vary depending on the extent of the damage, the size of the area needing repair, and whether you decide to do it yourself or hire professionals.
If you choose to repair sun damage yourself, costs will primarily involve purchasing the necessary materials. This can range from around $50 for basic supplies to over $200 for higher-end products and tools.
Professional repairs can be considerably more expensive, often running into hundreds or even thousands of dollars, depending on the extent of the damage and the rates of the repair shop.
While professional repair may yield slightly better results, the cost difference makes DIY repair an attractive option. However, you must consider the time and effort required for DIY repair.
Estimating the costs of sun damage repair:
Avoiding common mistakes can ensure a smooth repair process and help achieve the best possible results. Let’s look at what you should steer clear of when restoring your sun-damaged car paint.
Preparation is crucial in any paint job. Neglecting to thoroughly clean and sand the surface before applying primer can lead to a subpar finish and potential peeling in the future.
Painting is not a race. Rushing through the process and not allowing sufficient drying time between coats can result in a sloppy finish and may require you to redo the job.
Car paint, primer, and clear coat can be harmful if inhaled and can cause skin irritation. It’s essential to use personal protective equipment, such as gloves, safety glasses, and a mask, during the process.
Sun damage to car paint is an issue that many vehicle owners face. However, armed with the right knowledge, tools, and a little patience, you can restore your car’s paint to its original glory. Remember, prevention is key, so take proactive measures to protect your car from the sun’s harmful rays.